This is part 2 of 2. To see part 1, click here.
In part 1, I described the new sport of FPV Drone Racing. In this posting, I’ll tell what it’s like to try and take those Youtube videos and star-eyed ideas and make them real – IE, build and fly my own drone.
Once I understood the details of what a 250mm racing drone was, I had to buy one. Getting parts and pieces and assembling the entire series from scratch was daunting. What sort of ESC’s, what sort of flight controller, etc etc.
I found an eBay posting for a configuration that seemed right. Motors, props, ESC’s, frame, flight controller, all the pieces were there, for $108, delivered. Win! I’m in. I hit purchase.

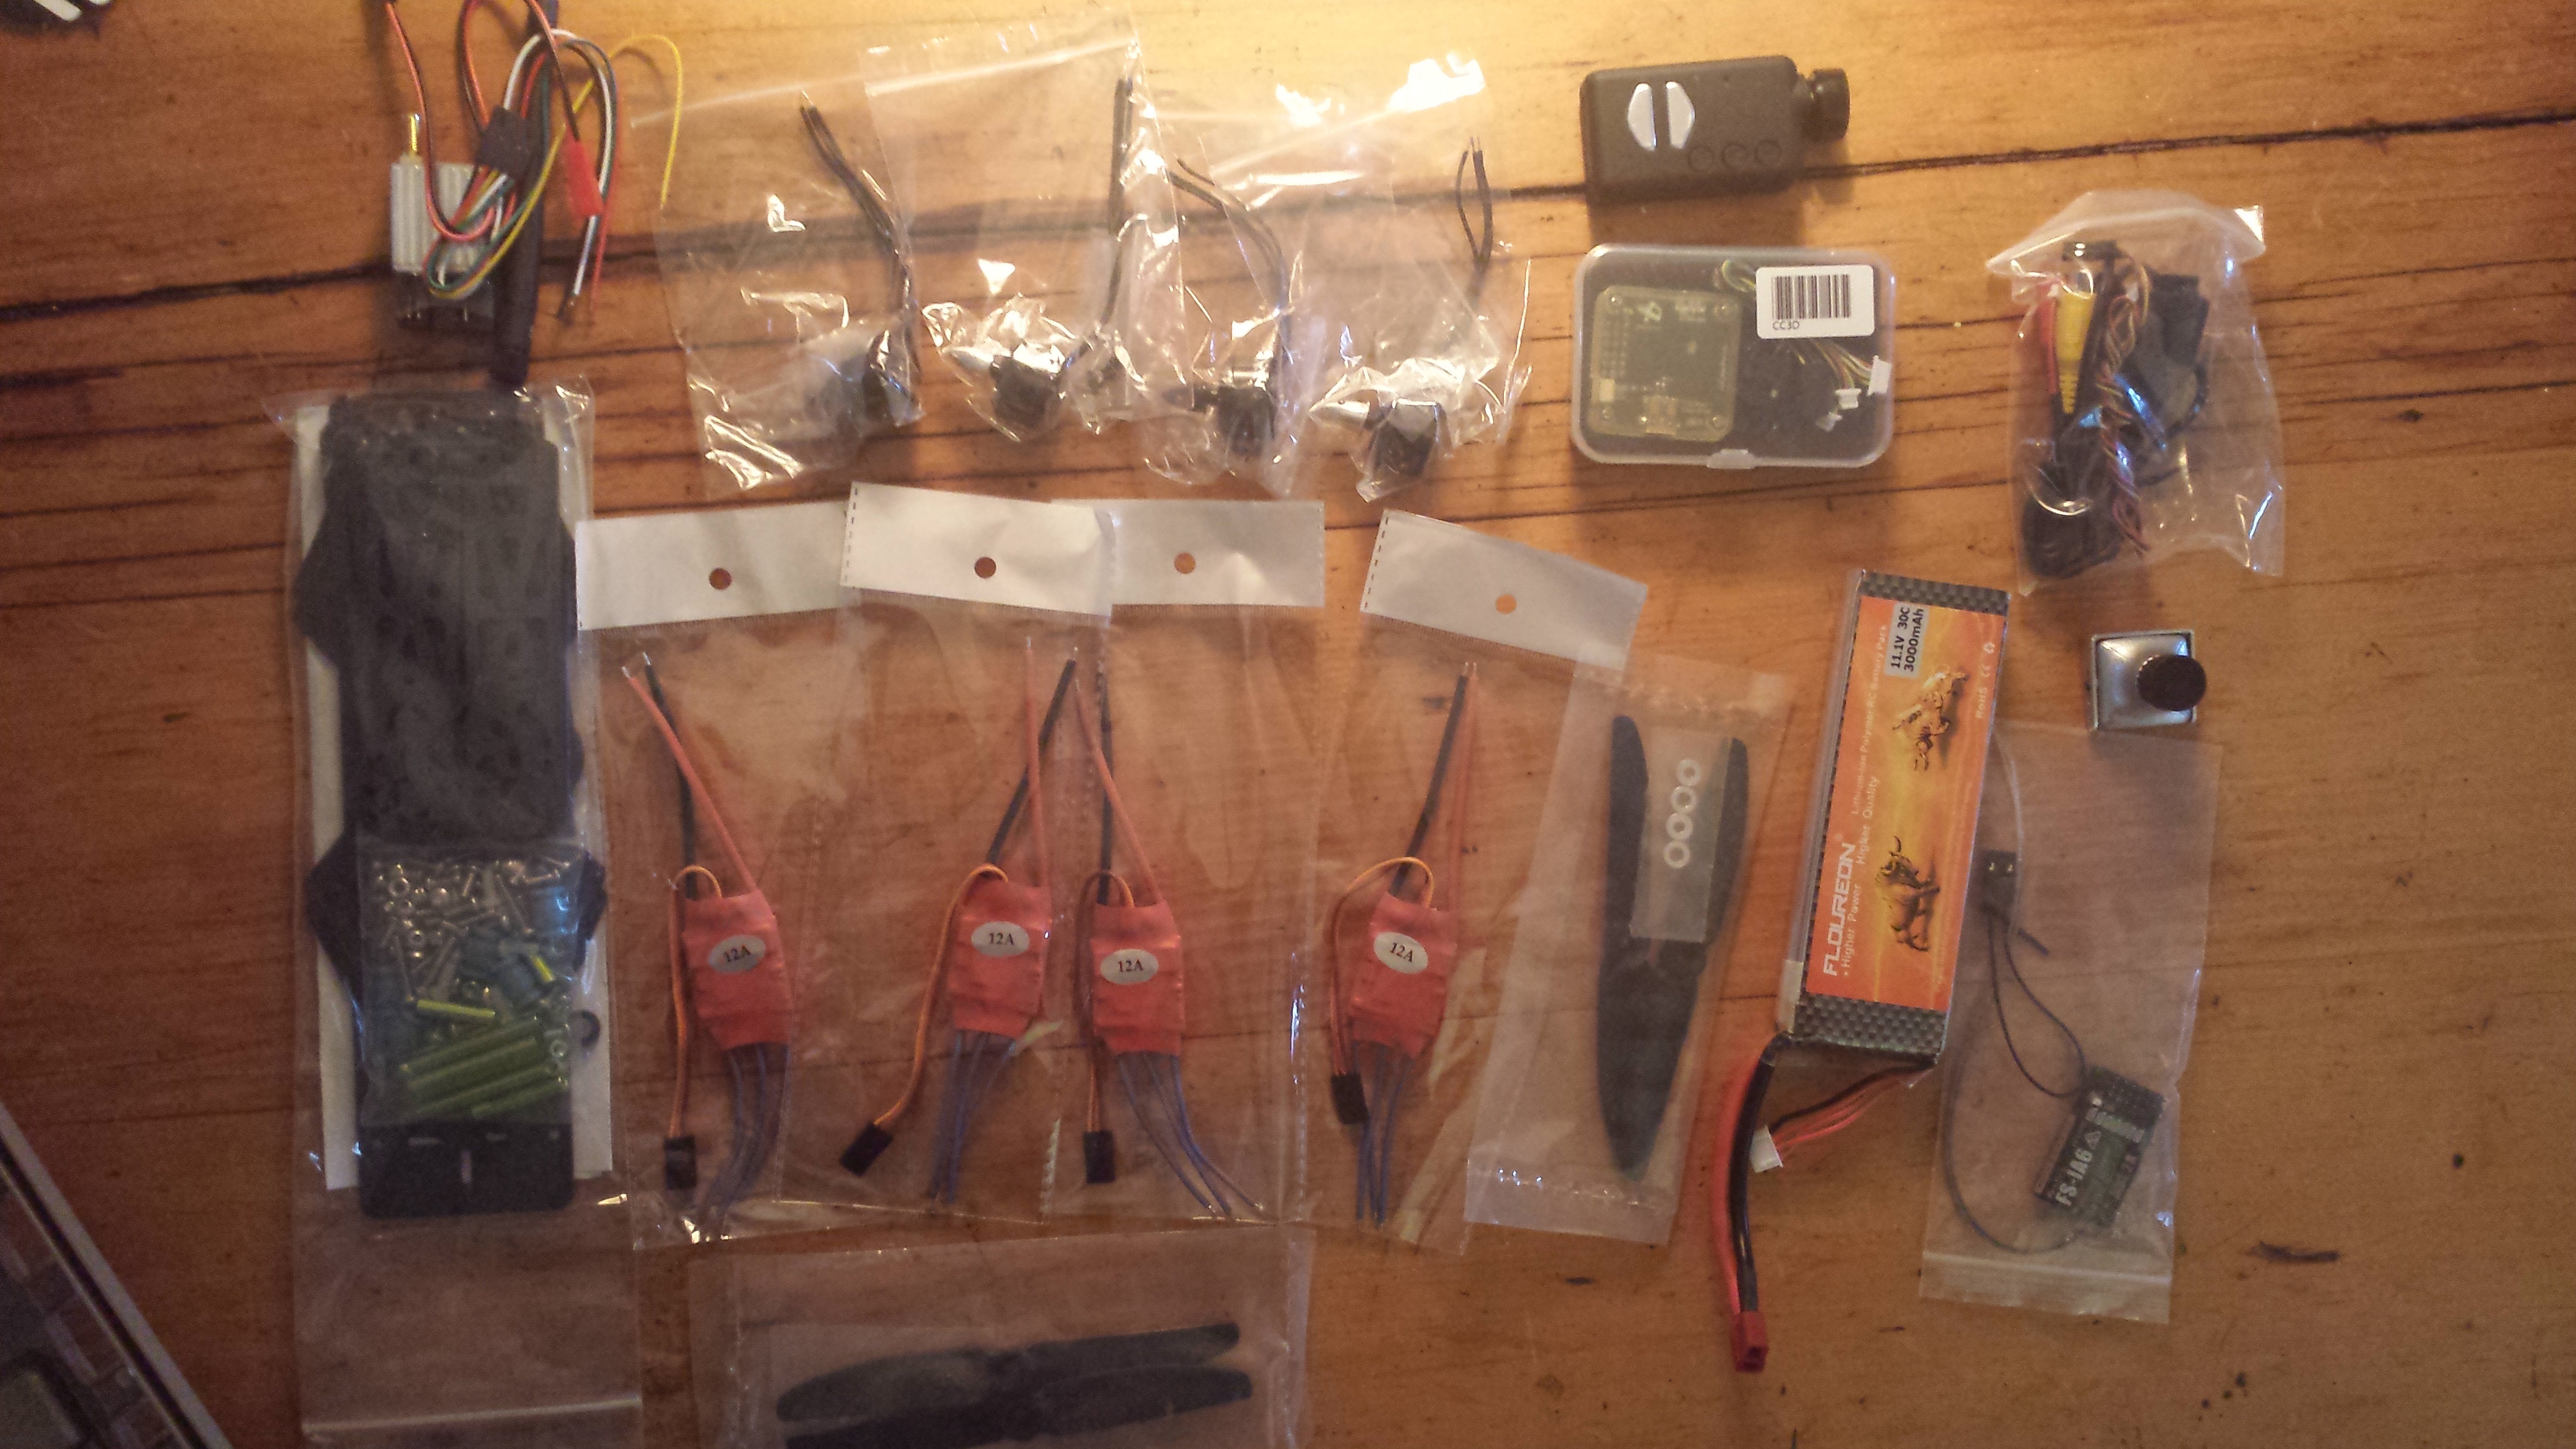
Drone parts laid out
That was March 14th. Little did I realize, I had made a classic blunder that’s all too common in this new sport. The frame I ordered was from China, and would take at least 3 weeks to arrive. Agony! Oh well. Lets make the best of it. I spent the intervening time building out my secondary parts inventory. A transmitter and receiver. Batteries. A carrying case to hold it all. Charger. I would be ready.
Finally, the frame arrived, and it was time to get to work. I unpacked the (small) box and laid out all the parts. Have to admit, the box looked less than promising. After driving myself bonkers looking at FPV videos, talking with folks online, etc, this sure didn’t look like what I had hoped it would be.
Opening it up and sorting through parts, things started looking better. Everything was there, and it even looked pretty good. Machining was good, parts were as expected, all I needed to do now was put it together. I had chalked off the evening to do the assembly, and it took all of that to get from “piles of parts” to something that started to look like an actual drone.
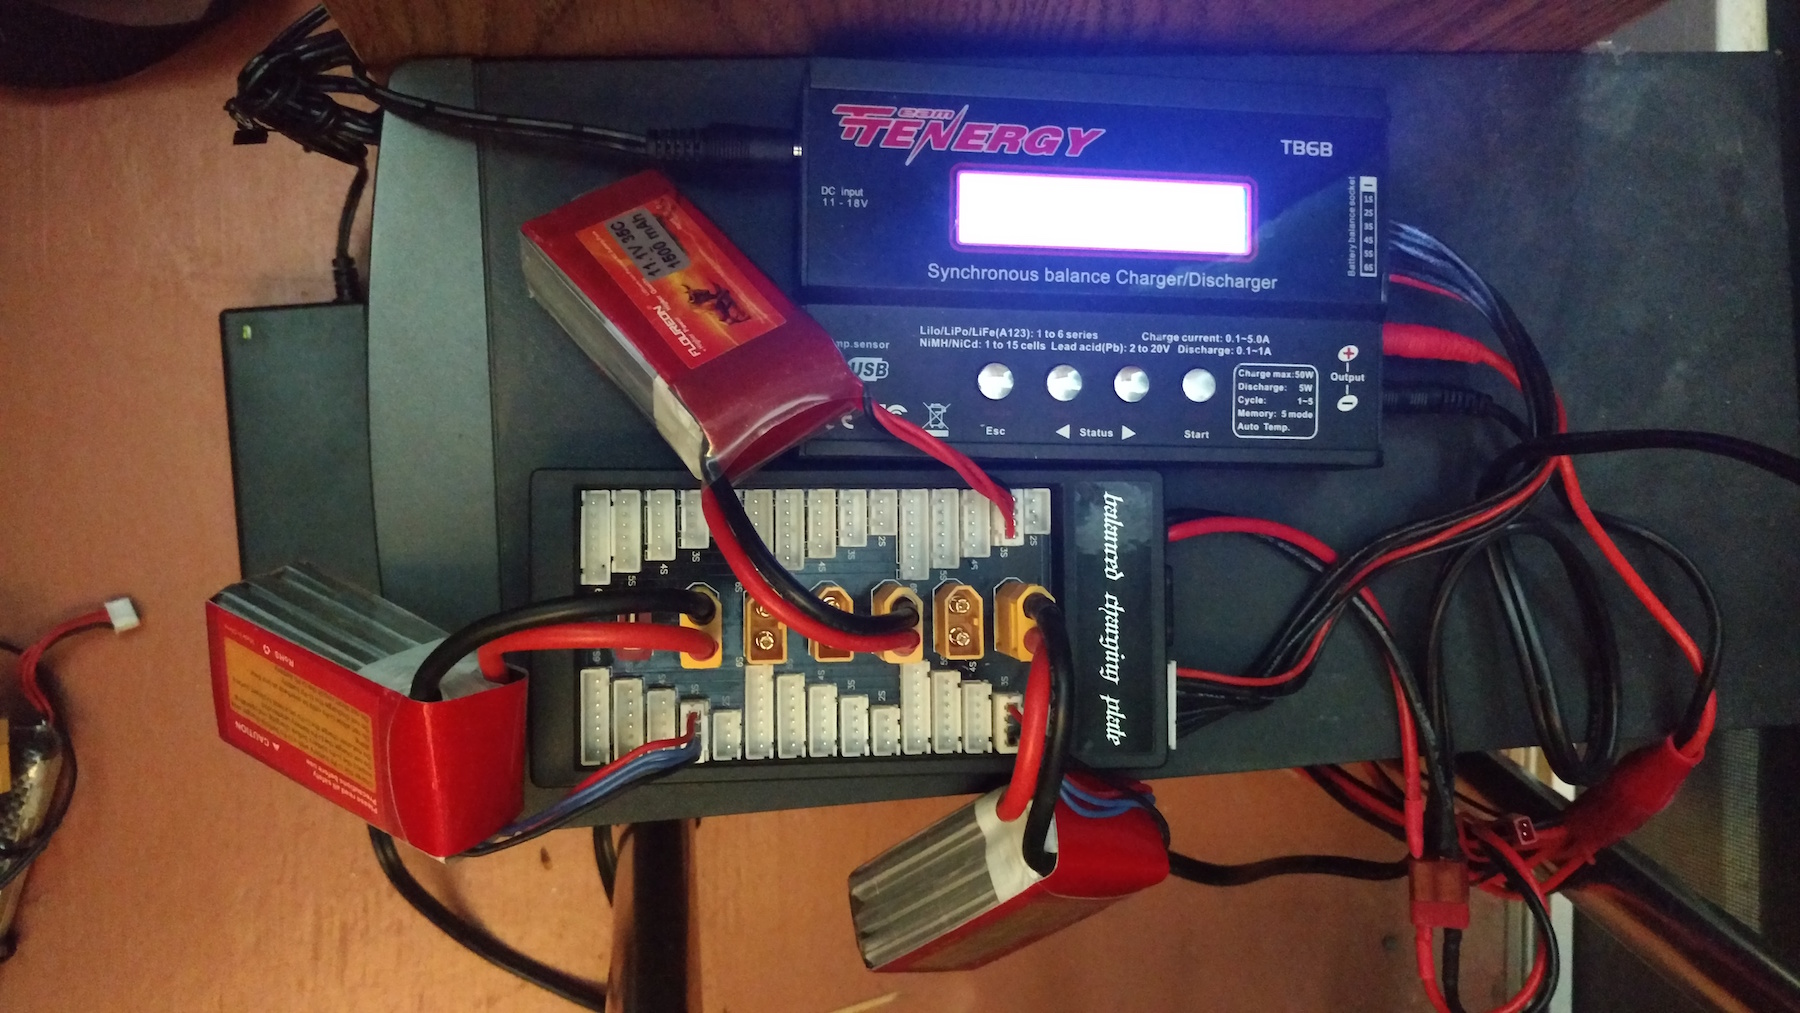
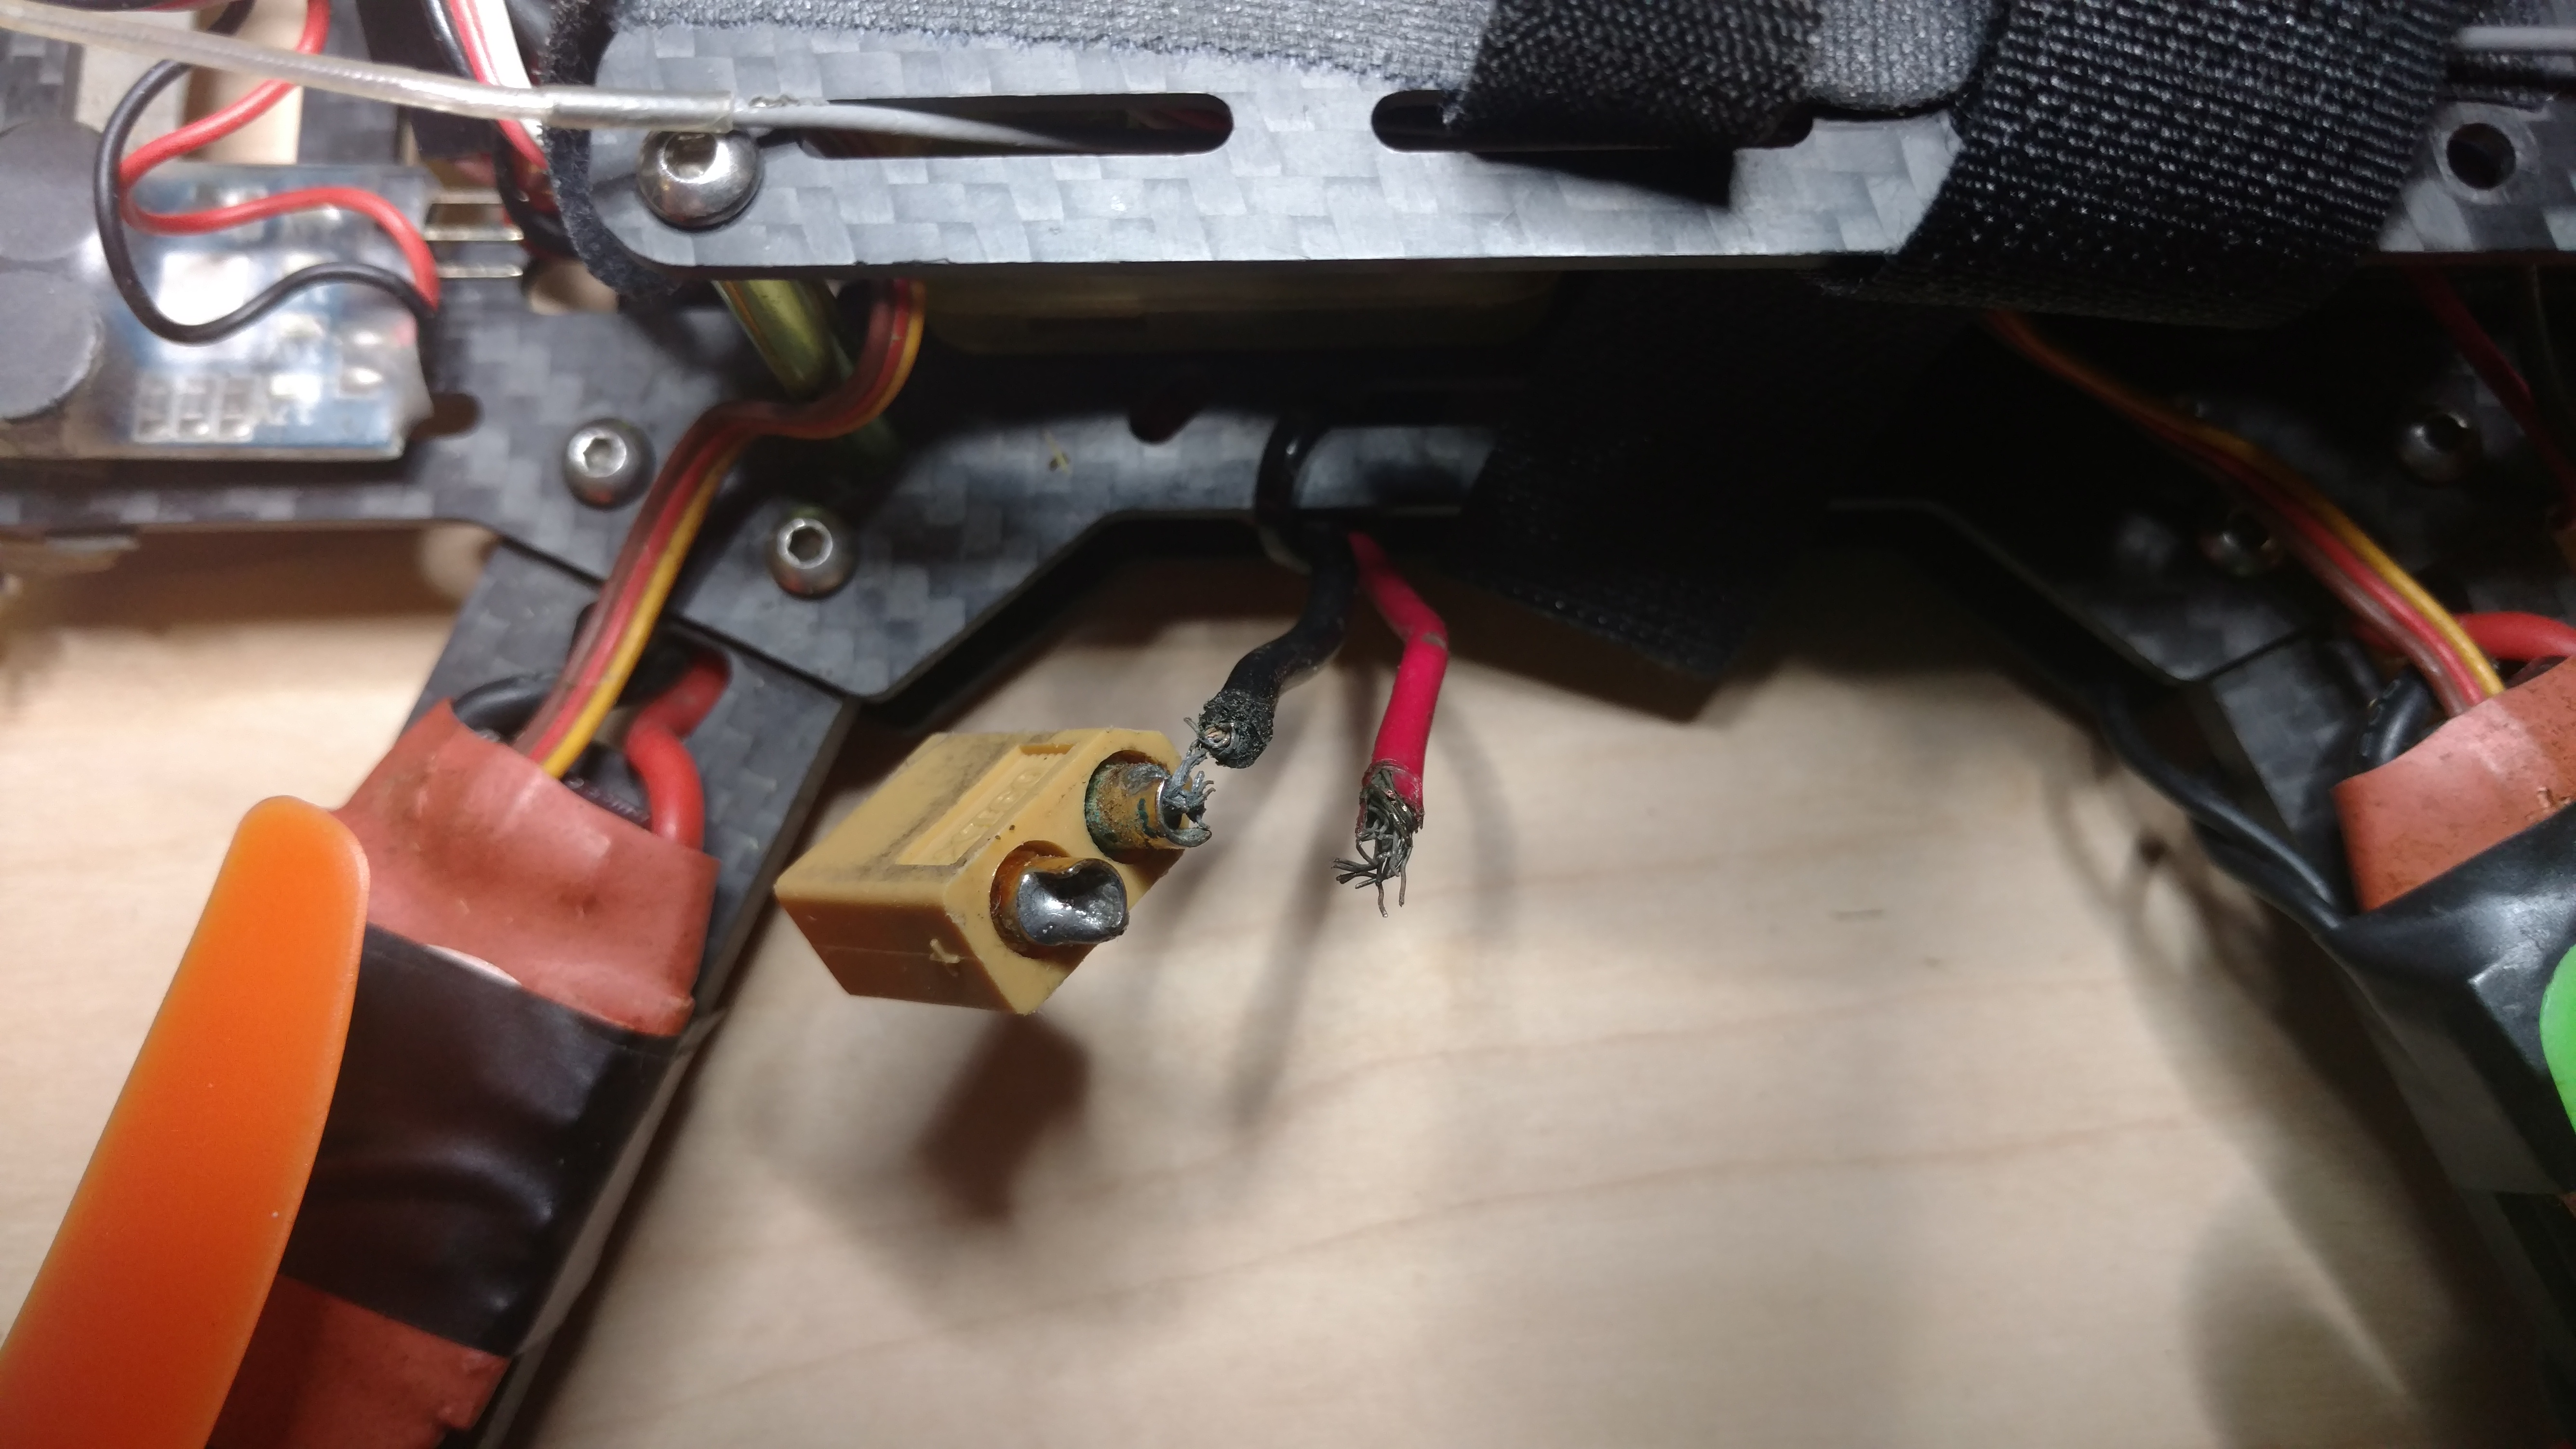
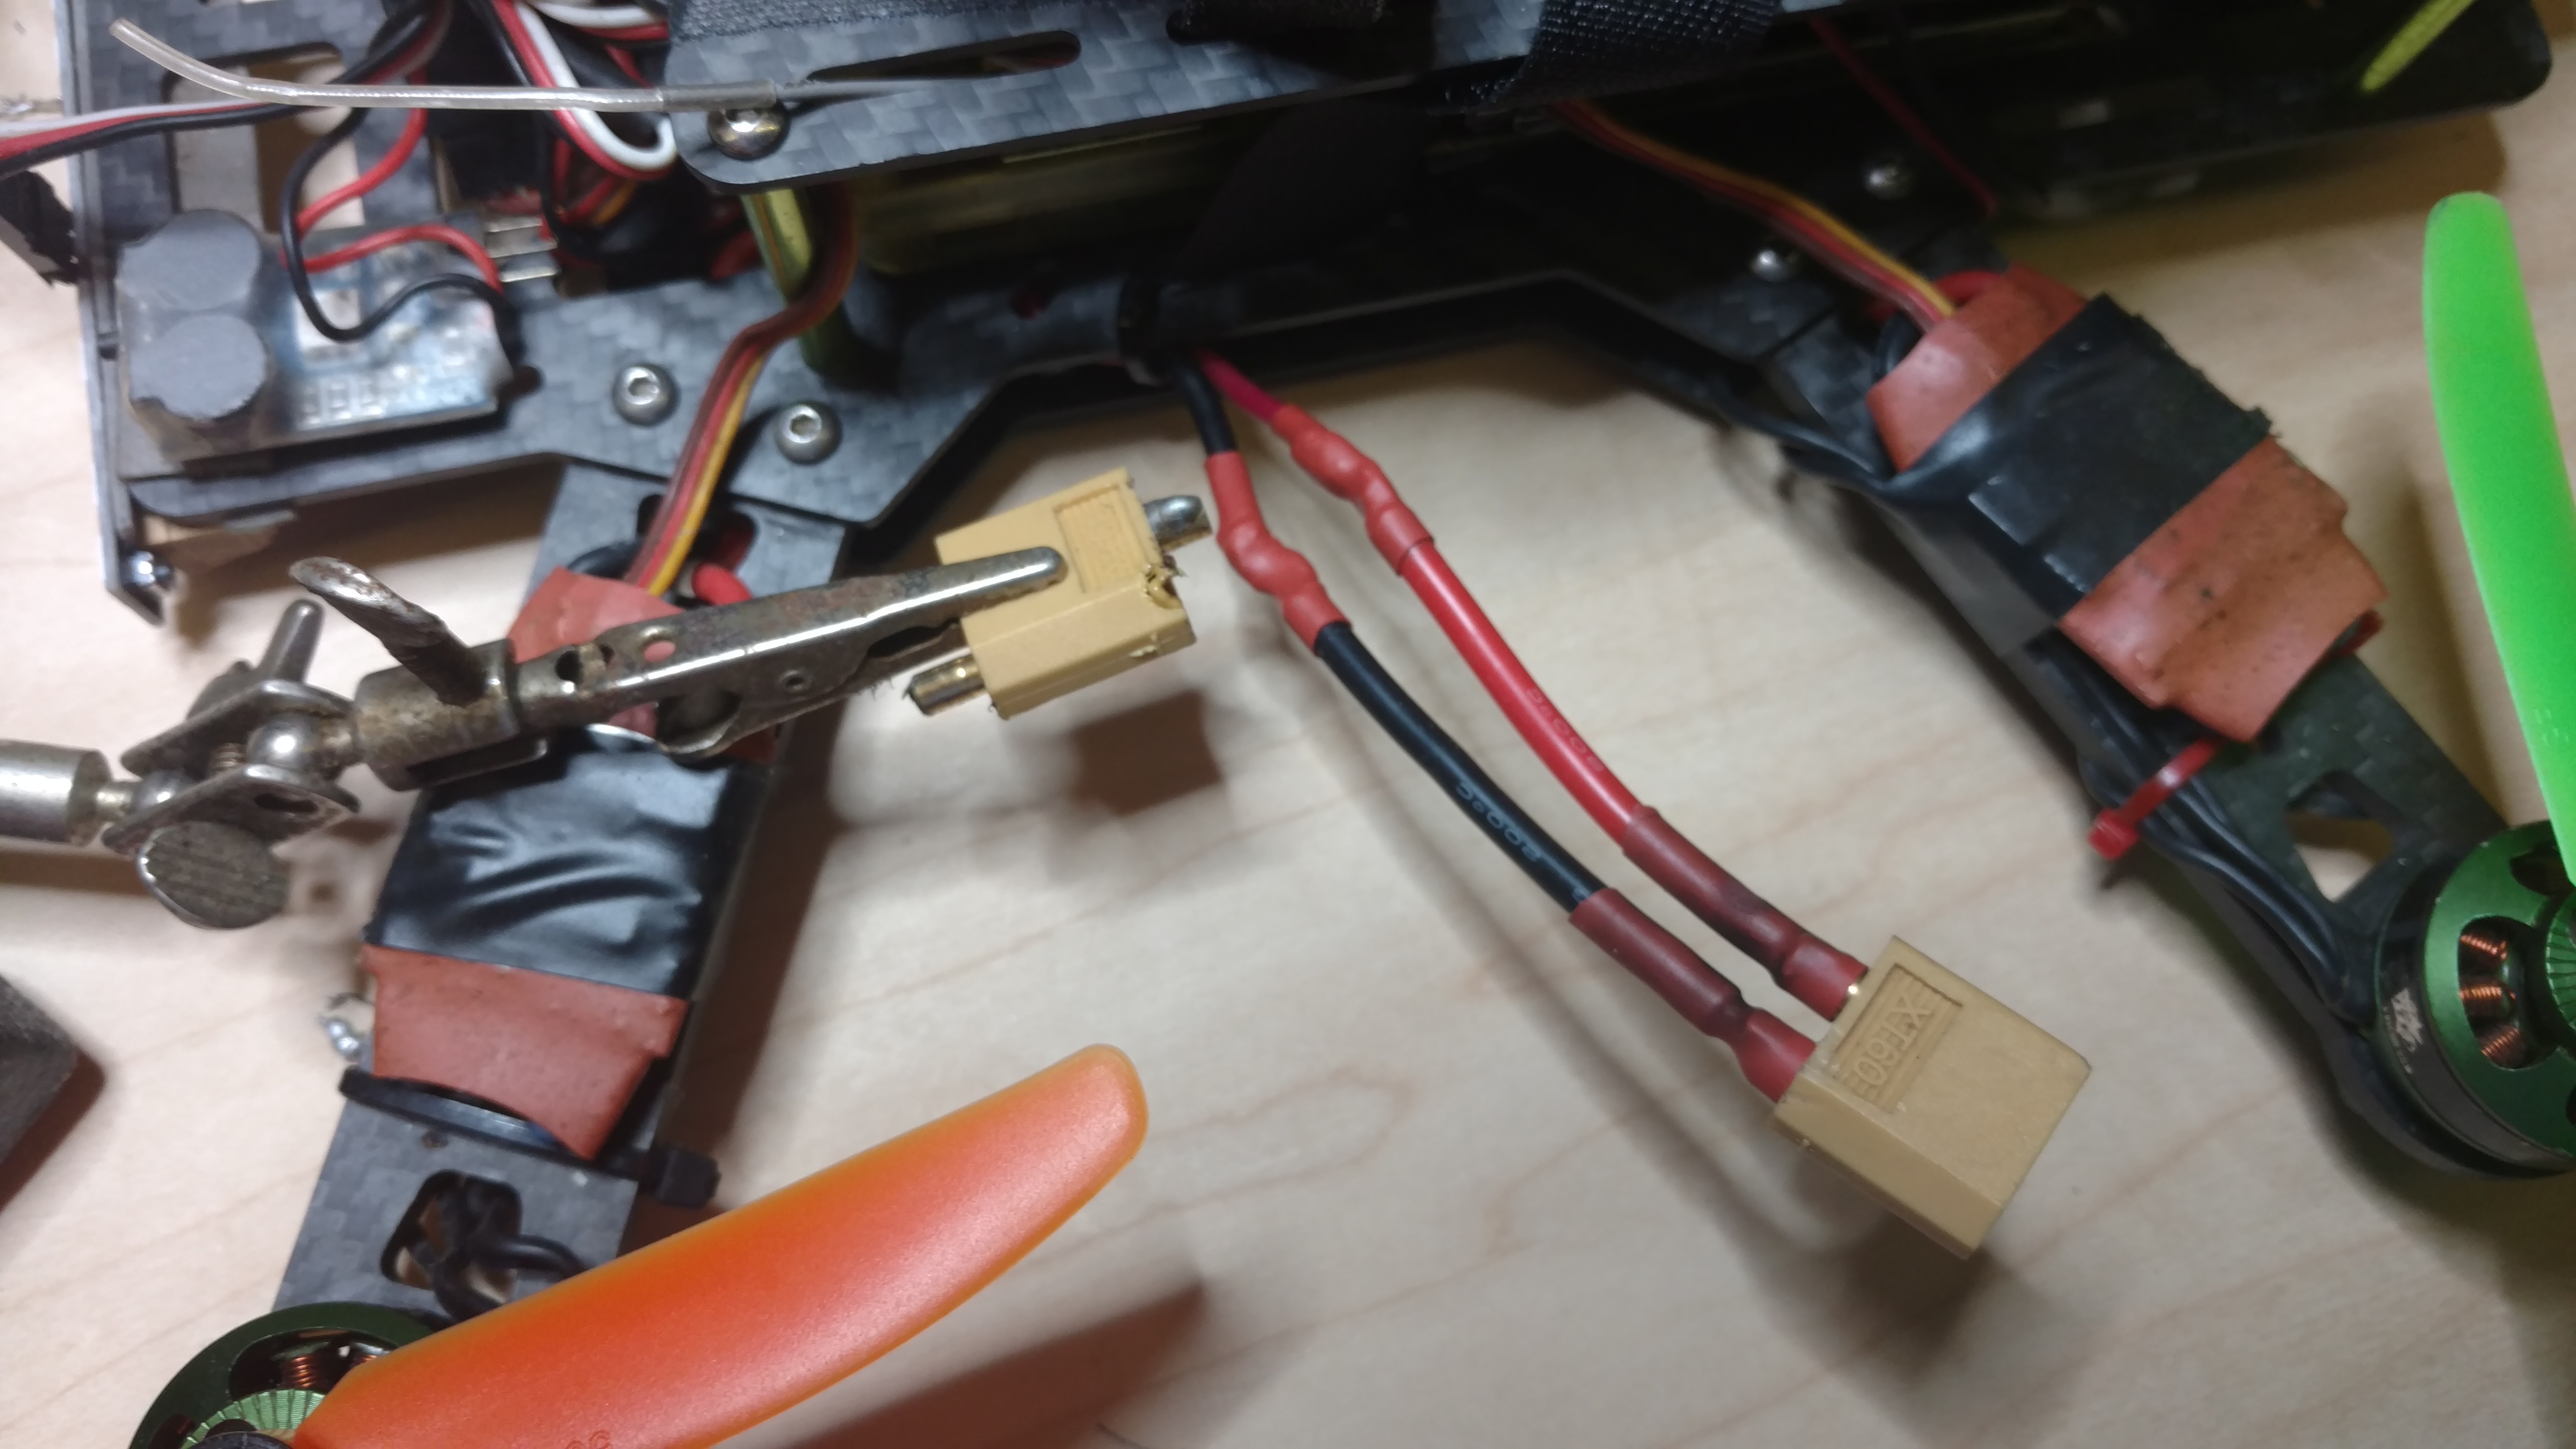
Anyone who has ever built an RC model knows what comes next. Doesn’t matter that this thing you’ve dreamed about sorta looks like what you imagined, you have a long road between “Looks done” and “it’s in the air”. The first trick was wiring the power harness so all of the ESC’s would have power to drive the motors. Some drones use a Power Distribution Board (or PDB), but this particular configuration didn’t have one, so I needed to wire up my own. Lots of soldering later, I realized the power connectors on my batteries didn’t match anything I had, nor did they match the charger I was using. Arrrgh. I suppose this is what happens when you build something from scratch, on a platform that really hasn’t solidified.
Somewhere around here I joined up with the MakeIt Labs folks up in Nashua, NH. They have a pretty rabid drone group there, and these guys were unbelieveably helpful in guiding me up this steep learning curve. I learned that most folks use XT60 power connectors, so I ordered up a handful of those.

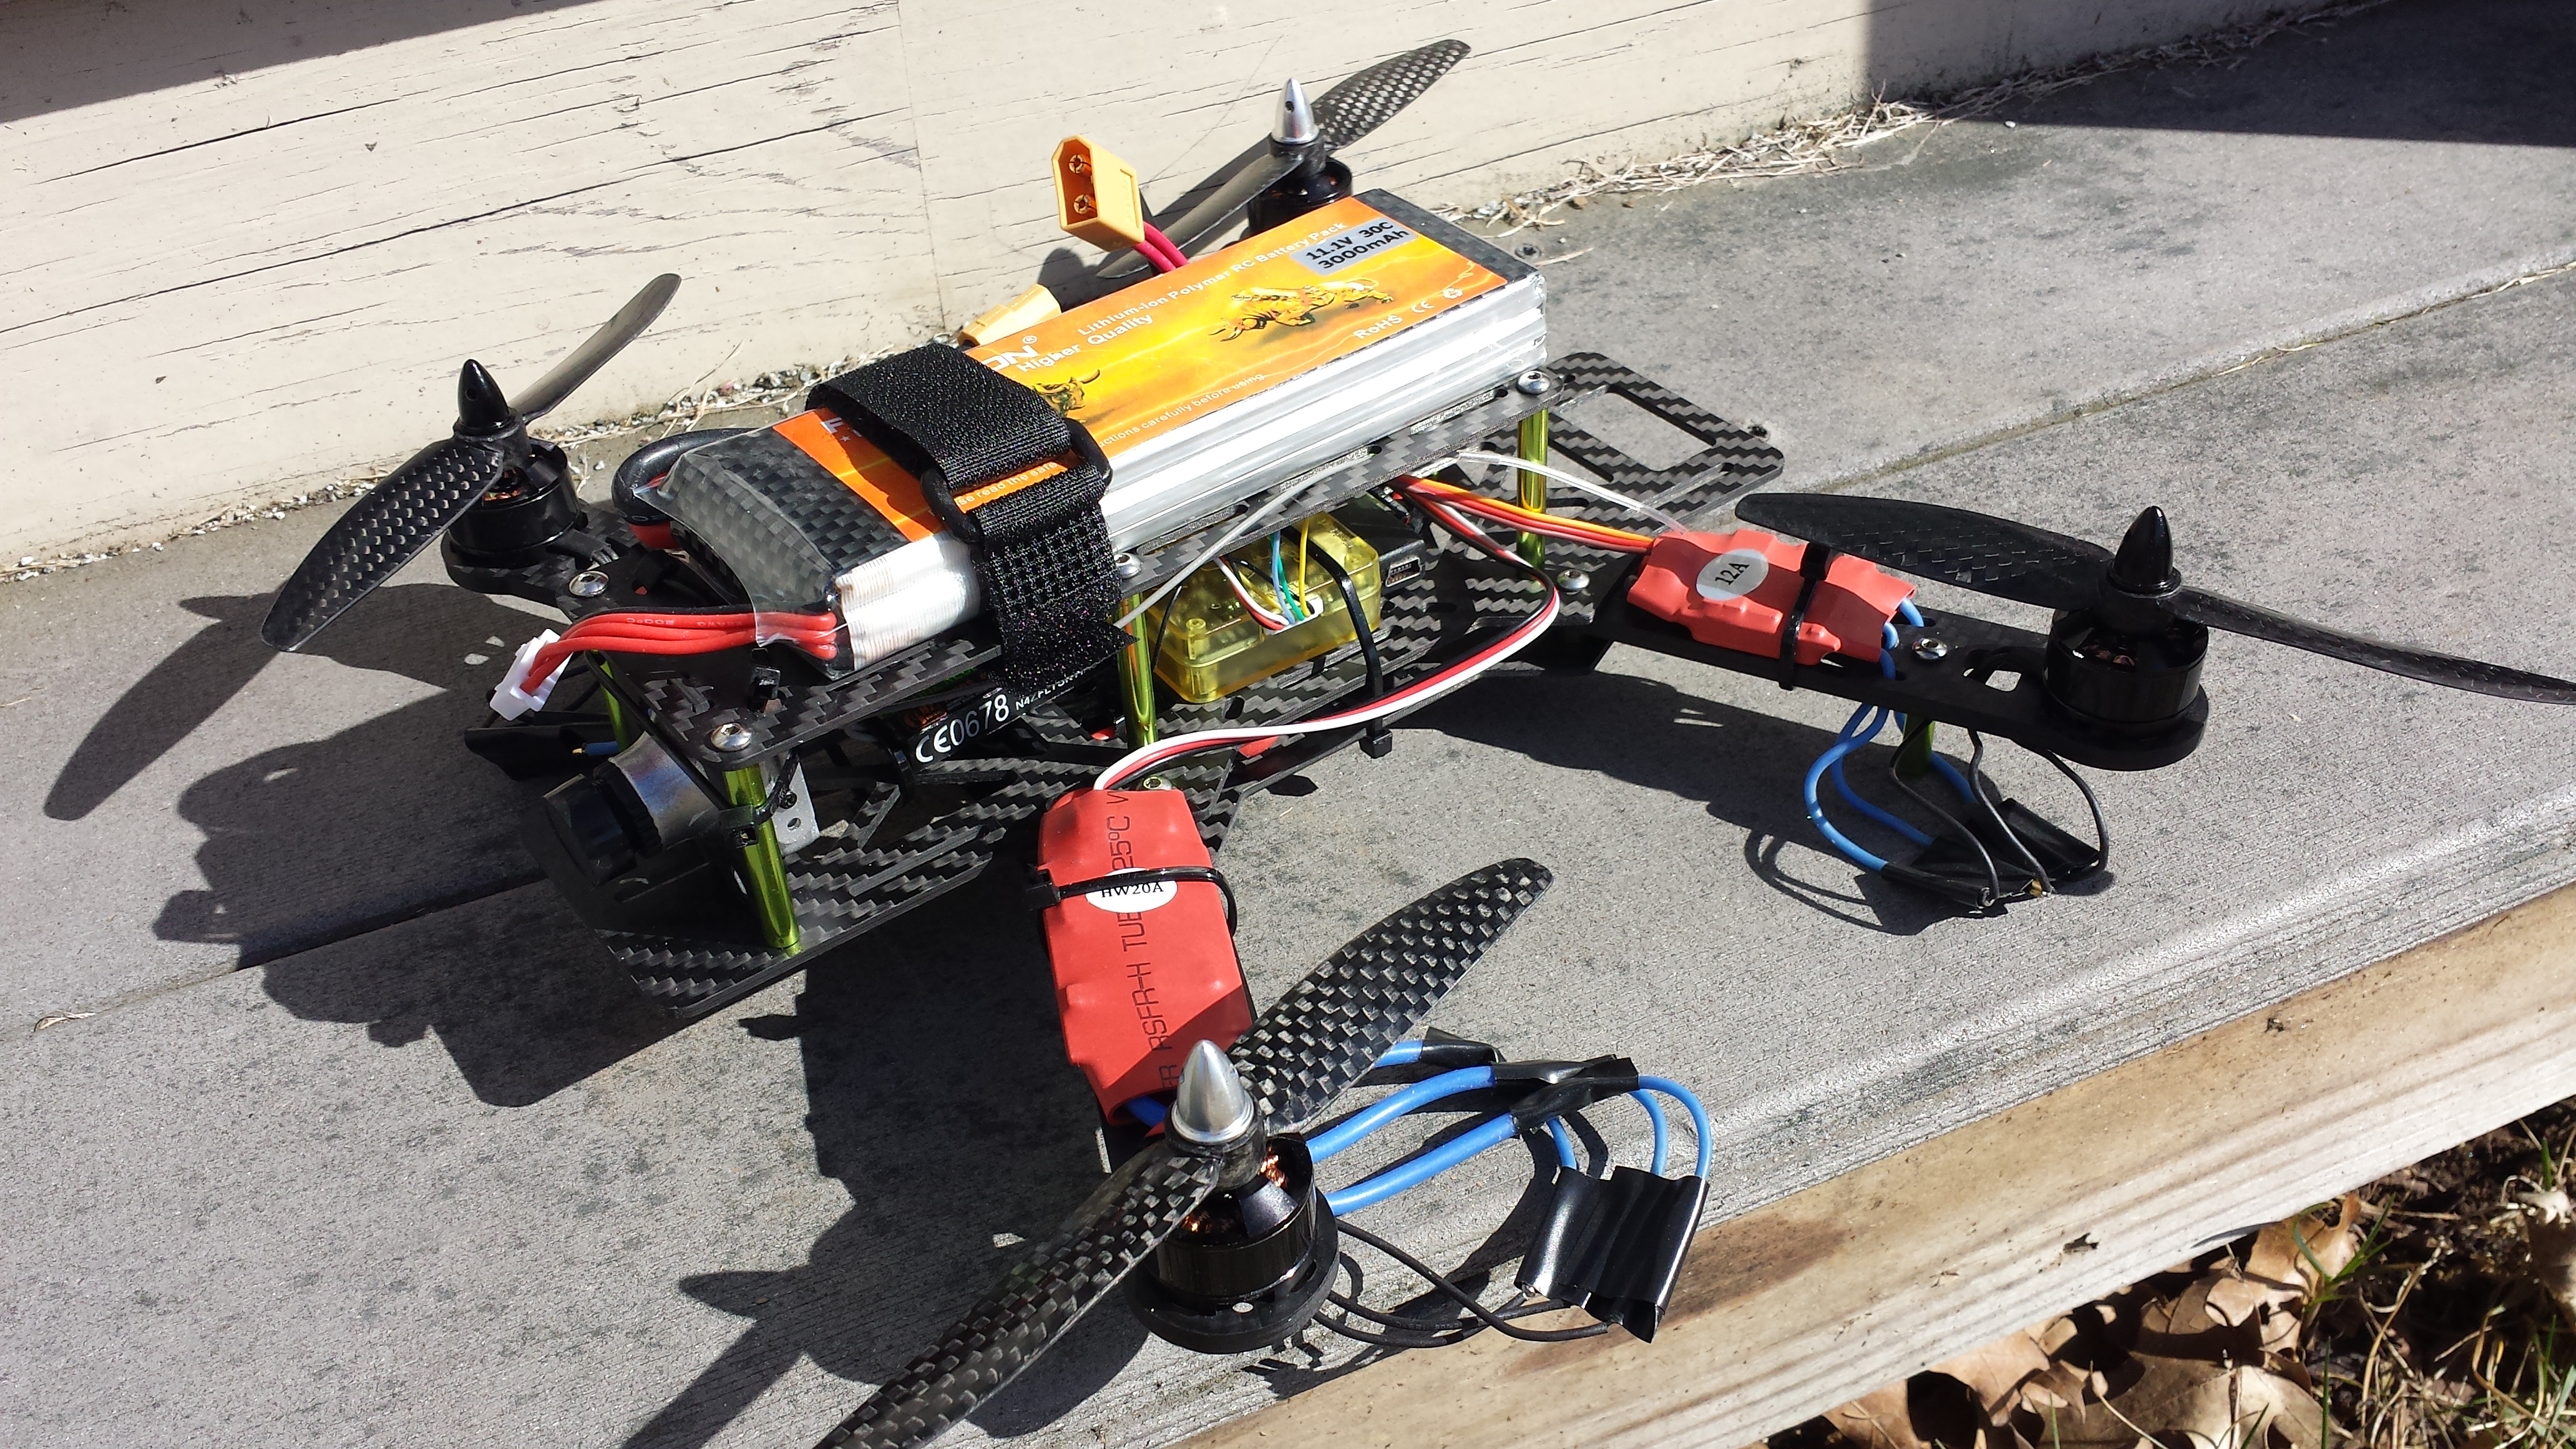
My drone with a 3000mAh battery
So, ready to go, right? Yeah, not so much. My FC (Flight Controller – a CC3D from the OpenPilot) needed to be programmed and calibrated with my motors and ESC’s. This is not a trivial process, and I was getting frustrated that my motors were not spinning up appropriately. Turns out, I had a blown ESC. ANOTHER BLOCKER. After much hand-wringing about ‘can you mix different kinds of ESC’s on a single quadcopter’, I took the plunge, ordered 4 more ESC’s, and after they came in, installed one onto the drone. More calibration, and… okay, now the motors are spinning under test, but are not responding to radio control at all. On the other hand, it LOOKED like a drone, smelled like a drone, it just… wouldn’t fly like one. (BTW, after sharing this picture, the folks at the lab were like “That’s a STUPIDLY large battery. You know most folks fly with a 1300mAh battery, right? You’ll save weight and space using a more appropriately sized battery). So, 2 new batteries ordered.
Here I have to give a bit of a shout out to the OpenPilot peeps. I understand there’s a little back and forth in the community about who owns the software, who owns the boards, and the like, but the OpenPilot GCS (ground control station) software is outstanding – running flawlessly on my Mac and giving me enormous control and detailed information about my flight controller. The CC3D controller itself can be had for around $25, and, as a geek who has seen some pretty complex little controller boards, what this thing can do is nothing short of amazing, for such a low cost. Very fast signal processing, control, and durned good communication / feedback to the groundstation software. The CC3D flight controller is being slowly replaced by the Revolution board, but that’ll be an upgrade for the future. Right now, I love my little flight controller, and am so grateful to the developers and community that made it possible.
Eventually I got all the factors aligned, and my drone took to the air. Flying Line Of Sight (or “LOS”) is the normal way people expect RC planes to fly. Watch the craft in the air, learn the controls, and fly around. My first few flights were just this… zipping around, feeling what it could do. I quickly learned what most pilots learn – it’s easy to fly your craft when it’s oriented directly away from you. Where left is left, right is right, forward is forward, etc. But once that vehicle turns and is coming toward you, all the controls are reversed. Thing flying toward you too fast? You pull back on the pitch stick (pull it toward you) to slow it down and pitch up. That’s not intuitive! I still have not worked this out – and in talking with other new pilots, I’m not alone here.
Eventually though it was time for the next step. First Person View, or FPV flying. In a nutshell, my drone has a small digital camera mounted on the front, and that is in turn wired to what amounts to a television transmitter. This signal can be sent back to a ‘groundstation’, or a set of goggles with a receiver and antenna. After some back and forth determining how to use goggles with my glasses (I ended up removing my glasses and wearing the goggles in a way that puts the screens a half inch further away from my eyes than normal. This works) – I was ready to fly.
This video is pretty much what happened. Did I fly? Yep. Was I able to be ‘on board’ and see what the drone sees? Sure enough. Was it the leaping, “Lo, I have slipped the bonds of earth” experience I was hoping for? Not even remotely. Next big lesson: Flying FPV is REALLY REALLY HARD. A drone doesn’t fly like an airplane – it doesn’t bank and swoop. In a wind, it behaves erratically and unintuitively. So naturally I crashed. A lot. Dozens of times. And each time, something would come off, something would break, things needed to be tuned… it was… exhausting.
That video was made around 6 weeks ago. Since then I’ve replaced all my motors, rebuilt the camera mount,installed a new camera and video transmitter, heck I’ve remounted virtually every component on the frame.
The result? I’m… starting to enjoy it! Flight times are up, crashes are down, maneuverability is comfortable – we’re not yet ready to go tearing through concrete tunnels, but I can make loops around the field and mostly not crash into trees now. My drone is still tuned to a very basic level of responsiveness. I’m not doing crazy flips and the like – and frankly, ain’t gonna do that anytime soon. But… well, take a look at how I’m flying now. This was in the same field as the first video. Check it:
Am I super-pilot? Not even remotely. Am I starting to feel like this is fun, and lets me experience, in a weird way, what it means to fly? It comes close… and I’ll keep trying.